Laundry Room Week 3

I promise this will be the last I post about laundry rooms.  For awhile anyway.

Yesterday our new washer and dryer were delivered–YAY!  Everything fits (a huge fear of mine) and looks great!  This delivery marked the end of a 2 week renovation project that was a little bananas–only because it moved at LIGHTNING speed.  We learned some new skills, bought some new tools, and are SO HAPPY with the end result.  Wanna see?

And this was her good side 😉

First, you need to see the “before”:    To appreciate the “after”:

I love our laundry chute!

As a reminder, here’s our inspiration photo:

Small laundry room. Until I have front load machines (or the stackables) I will just put a board on top of the back of them to set stuff on and keep things from falling behind.

We hired out the plumbing to our usual company, and found a smaller, more affordable one to do the electric and tiling work.  We tackled all demo, drywall, and paint/bead board installation ourselves.  By doing this we saved (are you ready?) $3900 from the original quote!!!!!!!!!!!!!!!!!!!!!!!!!!!!!  No, for real. And we still were able to get everything we wanted (an overflow drain, proper venting, and updated hookups and outlets.  No compromises, just hard earned sweat-equity.

We’ve still got to add some trim, cabinets, and a shelf that goes over the machines, but all of that can wait until after Italy and/or June.  For now we’re going to kick back and relax with LAUNDRY!  SWEET, SWEET LAUNDRY!

Family Yearbooks

2014 Edition

When I posted on Facebook that I finished & ordered our 2014 Yearbook, several friends shared that they wanted to know more or were “stealing” for themselves 🙂  I figured it might be helpful to share some tips/lessons learned from our yearbooks, in case anyone else out there want to start. (And I HIGHLY recommend it–I’m obsessed with them!)

First of all–yearbooks are AMAZING!  This is only our second–we made the first the year we got married.  That year we saw SO MANY friends, traveled to a number of cities, and wanted to actually DO something with the hundreds of photos spread out across facebook, instagram, and our phones.  Enter: the family year book.  They’re also great for sharing–this weekend we went up to the farm and brought the book with us.  Every family member (including kiddos) wanted to look–it was a fun way to fill everyone in on what we’ve been up to.  Scott’s cousins even noted how fun it would be to show this to our kids one day (to remind them that mom and dad USED to be cool) 🙂

The General Process:

Choose a photo book service you like.  I use Shutterfly because it’s easy, familiar, and I always get coupons, but there are certainly others (some peeps I know like Blurb).  Whatever you use, make sure it has a) an app that lets you upload pics directly from your phone, and b) has the ability to access your social media pics (if that’s your jam).  I promise, you DON’T want to (read: probably won’t) do the work of saving those pics to your computer; then all those memories will be forever exiled to the depths of the internet (instead of in your hands/on your shelf!)

Upload & Organize photos into albums. Some people do it by theme (i.e. family members), by events/season (trips, milestones)–but we do ours by month.  The first year this took FOREVER because I couldn’t always remember which month things happened.  This year I created an album for each month and uploaded as I went. Come December, I already had my pics organized in Shutterfly and was able to hit the ground running.

Make your album: Again, this is all about personal preference.  Some like the clean classic look of white pages, others like designs & patterns.  Some like descriptions, summaries, or captions–others like their photos to speak for themselves.  Shutterfly has all kinds of inspiration examples, and you can choose between custom or simple paths for designing your pages.  I choose the custom path because I’m a control freak I like to play with the layouts, but for those short on time, simple might be a great option!

Lessons Learned:

Even though this was only my second year, it was LEAPS AND BOUNDS easier than last.  Don’t make my mistakes and follow these lessons the first time around:

  • Upload pictures as you go: I honestly cannot tell you how much time this saved. Sometimes I got behind and had to do a few months worth (i.e. it wasn’t until September that I physically uploaded June-August pics into their respective albums) but I still chipped away at it over time.   Doing this saves so much time on the back end, and could be the difference of actually making a year book and not.  And while you’re at it…
2015/01/img_0577.png

Monthly albums–uploaded throughout the year

  • Design the pages as you go: I’m fortunate enough to get a winter break, so I make my yearbook then.  That said, if your new year is bananas, simply design your yearbook as you go!  Maybe once a month, or at the end of each season, sit down and create a few pages (your photo book service should save the project).  Similar to the note above, this will make the process a bit less overwhelming, and could be a fun chance to stop and reflect on the year as it’s happening 🙂  Speaking of pages…
  • Add as many pages as you want: My first year, I tried to stick to 2 pages per month unless it was really eventful (i.e. when we got married/honeymooned).  That led to two regrets: leaving out some pictures I loved and CRAMMING as many into those pages as possible (sometimes making them so small I could barely see!)  Since pages cost $, this seemed smart at the time, but I also felt like I was missing out.  This year I added pages to my heart’s content, and I don’t regret it for a second.  2014’s book was roughly 20 pages longer, but using discounts l only paid $10 more.  And I am SO HAPPY we put in those extra pictures–it helps tell our story more completely, and really, what else would I do with those shots??
  • Capture the boring stuff: We have so many pictures of the everyday, the ordinary, the mundane.  Porch time with the dogs.  Weekly visits to the breweries.  Home cooked meals we really enjoyed.  As exciting as our lives are 🙂 THESE are the moments that capture us perfectly.  And we’d be misrepresenting our year if we ONLY included the big stuff.  Plus it’s so fun to look back and remind yourself of the hobbies and habits you held, and watch how they change over time.
2015/01/img_0597.jpg

Yes-that IS a whole page about a pantry…

2015/01/img_0599.jpg

Because years from now, we’re going to want to remember the time we Iced Nick with a bomber…

So that’s it: family yearbooks 101 by yours truly.  I hope this helps you to get yours off the ground–and that you love it just as much as we do!

January House Projects

Since home improvement is still a goal in 2015, I thought I’d take a moment to plan out January’s projects.  I found this really helpful when we first moved in, plus it’s so much fun to look back on the progress you’ve made over time!  Since we’re keeping January really lean budget-wise, these are going to be relatively small/simple updates.  Onward!

  • Frost the pantry windows. I’ve been wanting to tackle this project from the day those doors showed up!  But so many steps had to happen first: hang the doors, paint the doors, scrape the glass, etc.  I’ve already purchased the frosting film–now it’s just a matter of taking the time to do it!  Cost: free since I already have the materials.
  • Finish the inside of the pantry.  Apparently it’s the pantry’s turn to be the belle of the ball!  This will involve adding the edging to the shelves, hanging the spice racks, and painting the floating shelf supports to be the same color as the wall (though truth be told, I’m not sure that one is going to happen quite yet).  Cost: Again, we’ve already got most of the materials, so 0-$8 (in case I need to buy a new paint brush)
  • Spray Paint metal stools: Last month I found these guys in the clearance section at target-woo!  While I loved the white, they just don’t quite look right up against our cream/beige island  & cabinets.  So I’m spray painting the legs an antique nickel-kind of like these but the color is more consistent and, in my opinion, higher-end (looking).  Cost: $10 (I’ve already got one can of spray paint but something tells me I may need a second for a clean, even coating).
  • Researching Light Fixtures & Door Knobs:After painting the last of the doors & trim in November, I realized that our downstairs is 95% updated with two exceptions: the lights that hang in the entry and hallway, and our hideous brass door knobs.  While I don’t want to pull the trigger this month, I do need to spend some time researching and finding the best deal on these babies.  Perhaps a February project? Cost: free, unless I find a too-good-to-pass-up kind of deal.

So there you have it!  I’m travelling for a week at the end of the month for work so these projects will still be plenty to keep me busy. Plus, $18 is significantly under our monthly “Home Improvement” budget, which means we’ll be able to put that money towards bigger projects down the road.  Finishing the pantry in and of itself will be a big weight off my shoulders and I’m eager to give the kitchen area in general a little love!  I’ll be sure to post pictures once the projects are complete 🙂

Life & Such

It’s been a busy few weeks!  (But really, when is it ever not??)  We’ve been filling our time with friends/colleagues, some painting, and a few purchases.  Just a quick round up:

Trips and Travel(ers)

Tom’s Visit from Madison: Scott’s friend Tom (from college) came out to visit and it was yet another opportunity to introduce a newcomer to Denver!  The main reason for his visit was to go to 2 (2!!) Tour de Fat festivals, but we manged to squeeze in lots more fun during the week between.  Fun restaurants, breweries, a cliff diving show, BBQ and pool time, and a Simpsons marathon made for a super fun week!

IMG_9080.JPG

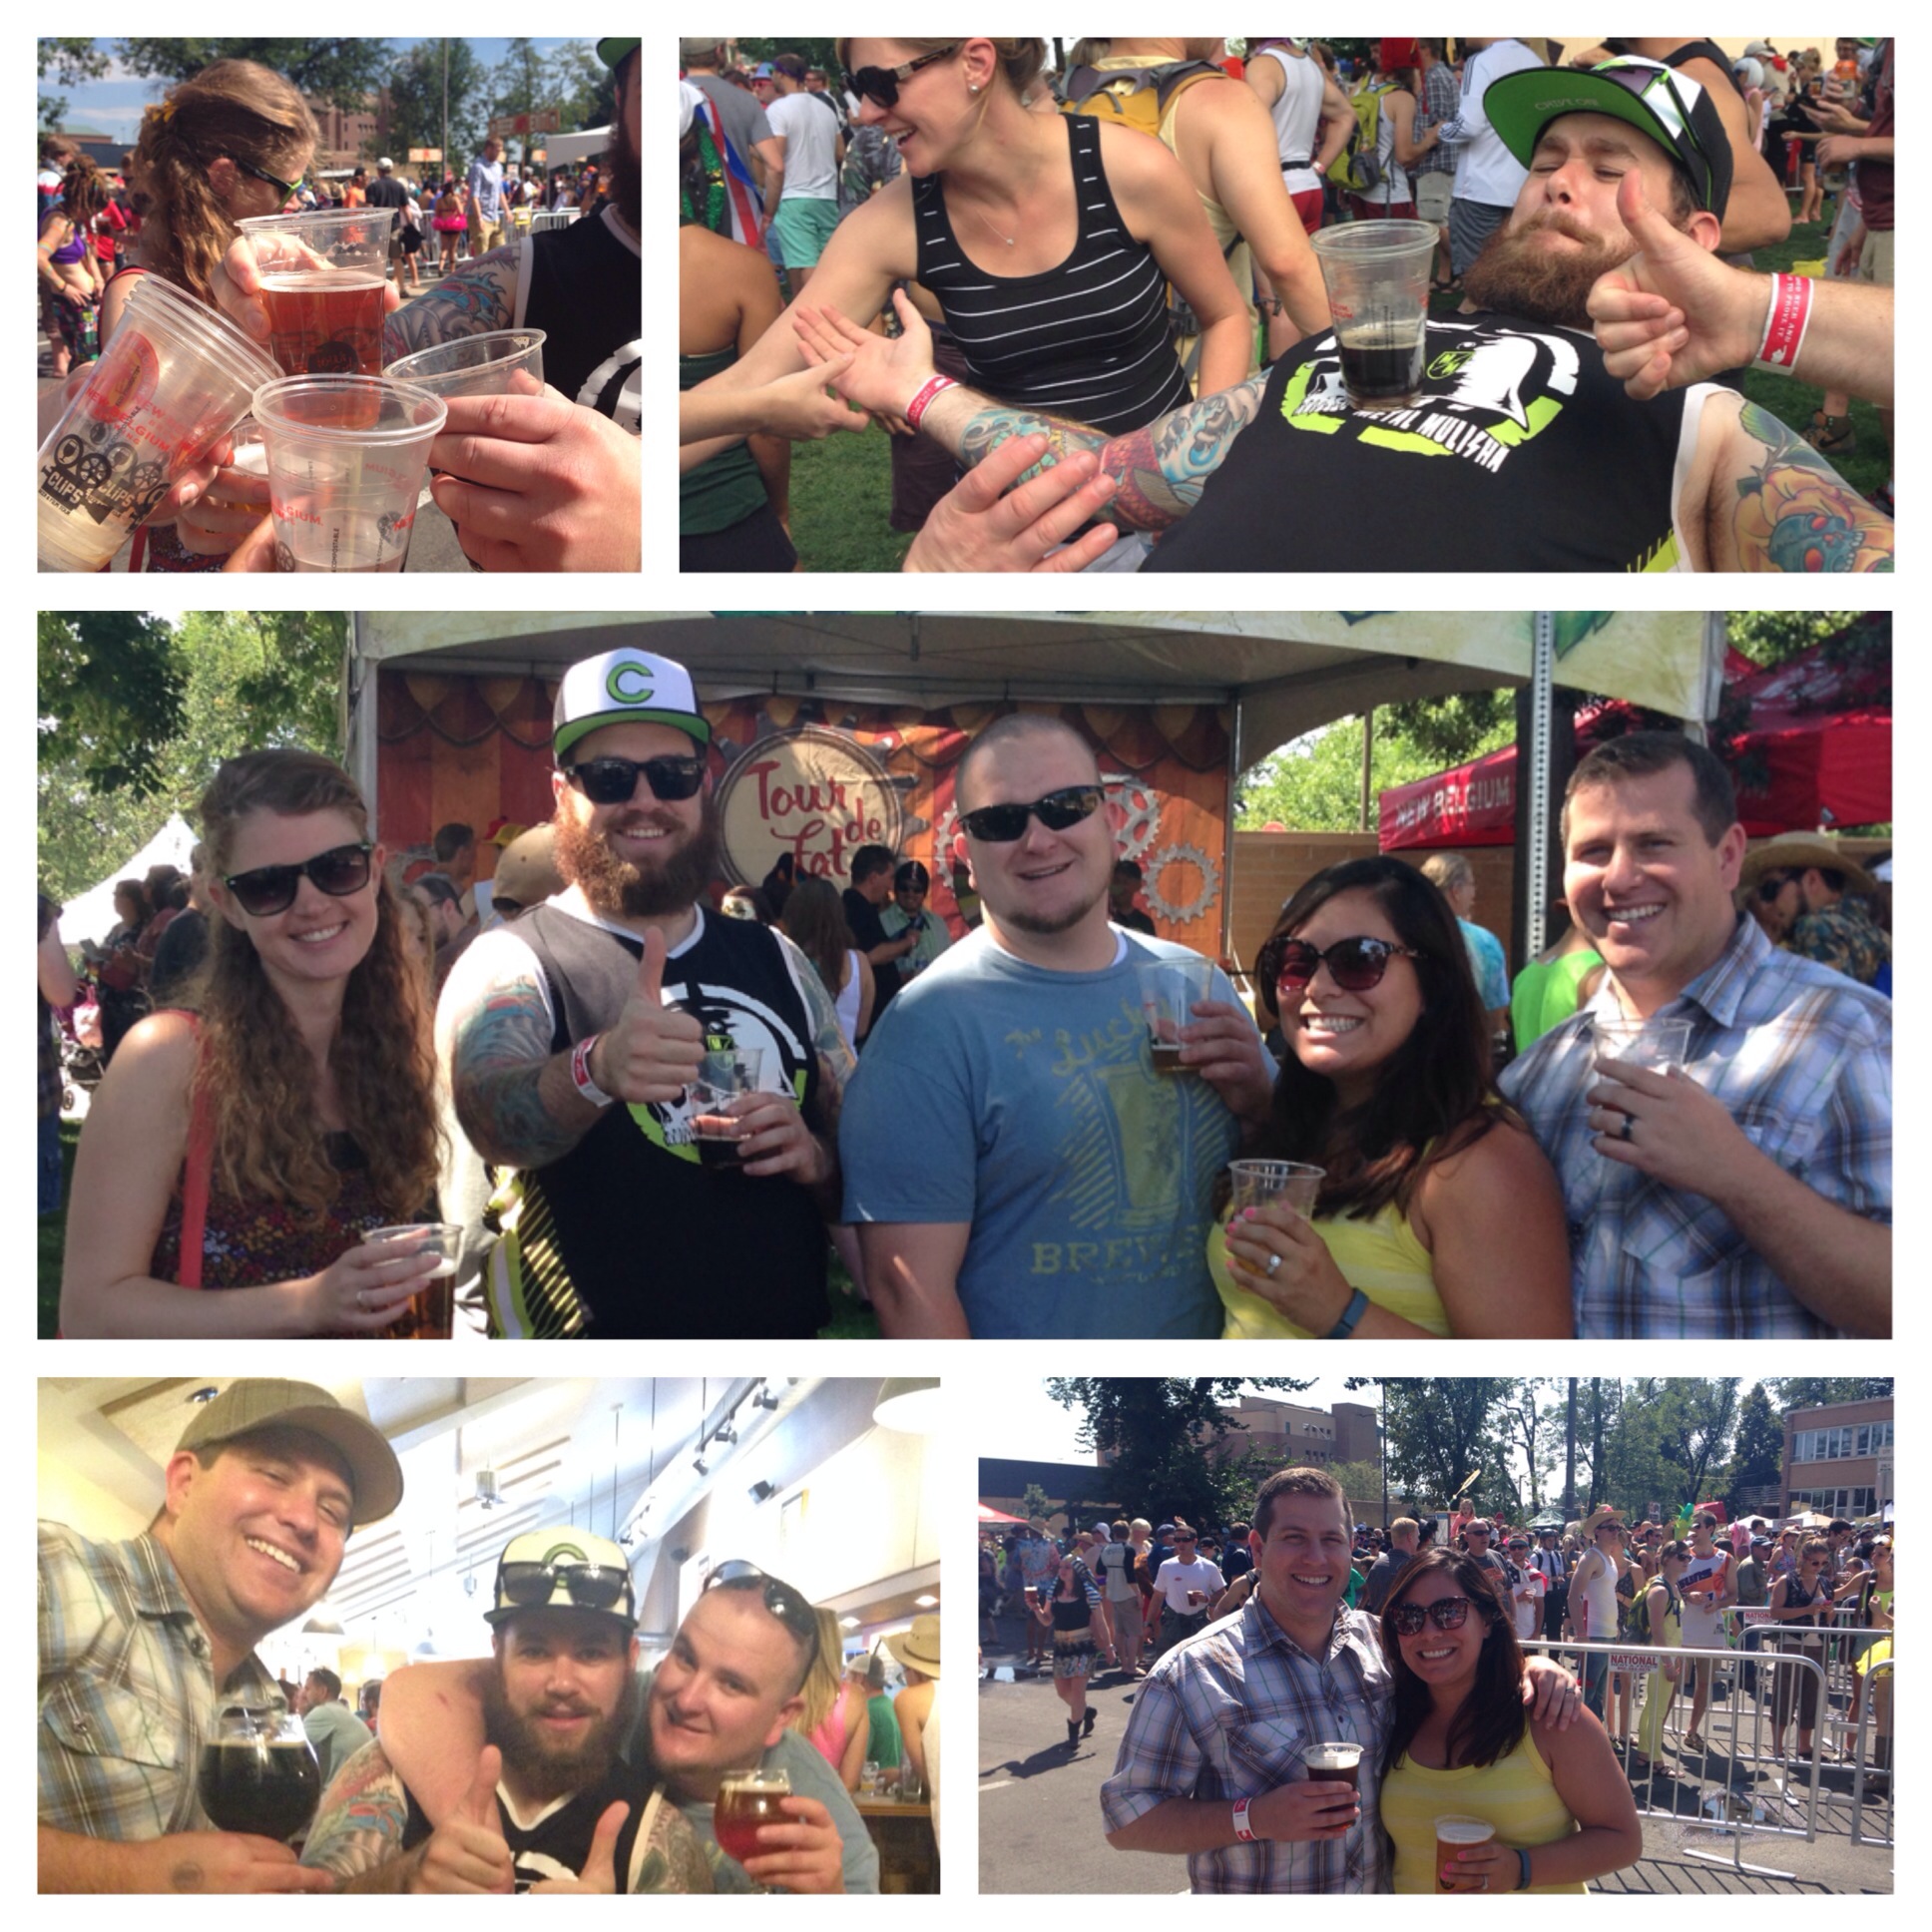
Tour de Fat #1: Fort Collins!

IMG_9131.JPG

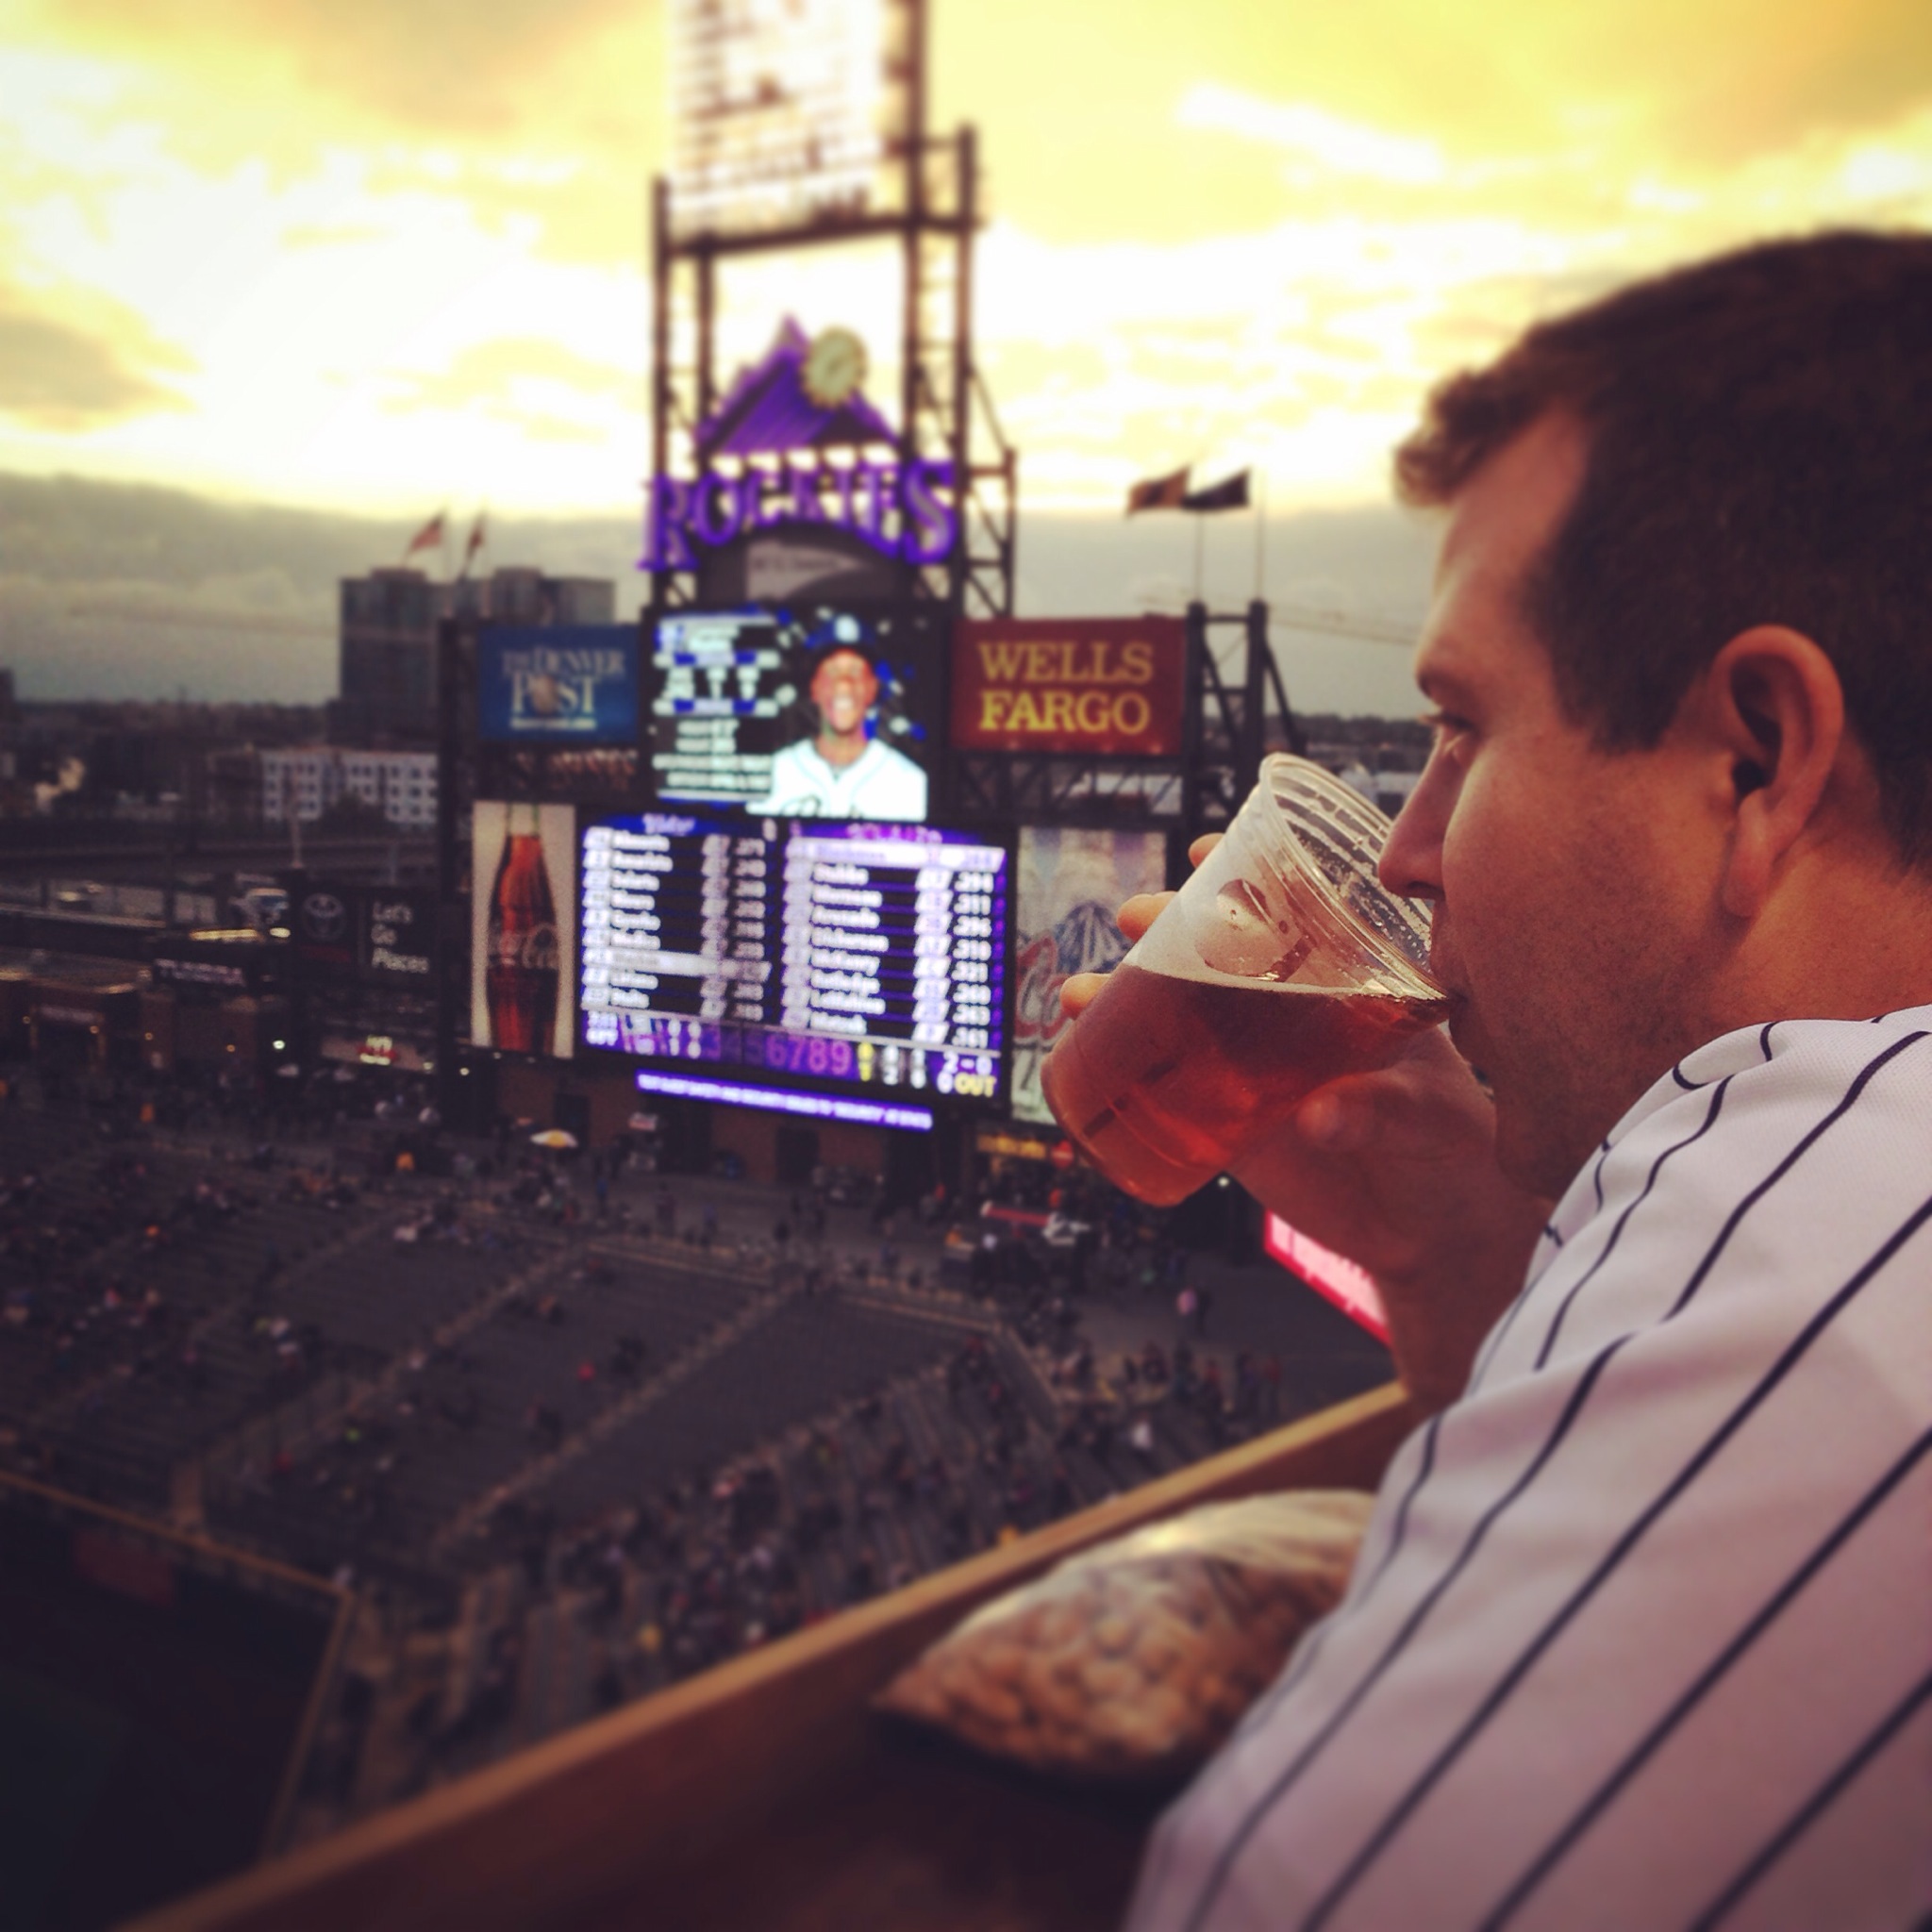
Friday night Padres game at Coors field

IMG_9159.JPG

Tour de Fat #2: Denver! Also, both Abby AND the Dogs’ first TdF!!!

Work trip to New Orleans: My team had our annual retreat in New Orleans this last week.  I didn’t get a chance to explore too much (both because the days were long and because I want to return one day with Scott!) but I was able to go to Bourbon Street a couple of times and drink two of their famous drinks: the Hurricane (not my fave) and a Hand Grenade (my super fave!).  While it was a long (and humid/sticky) week, it was lovely to see my colleagues, spend time in a new environment, AND taste my first beignet!

IMG_9197.JPG

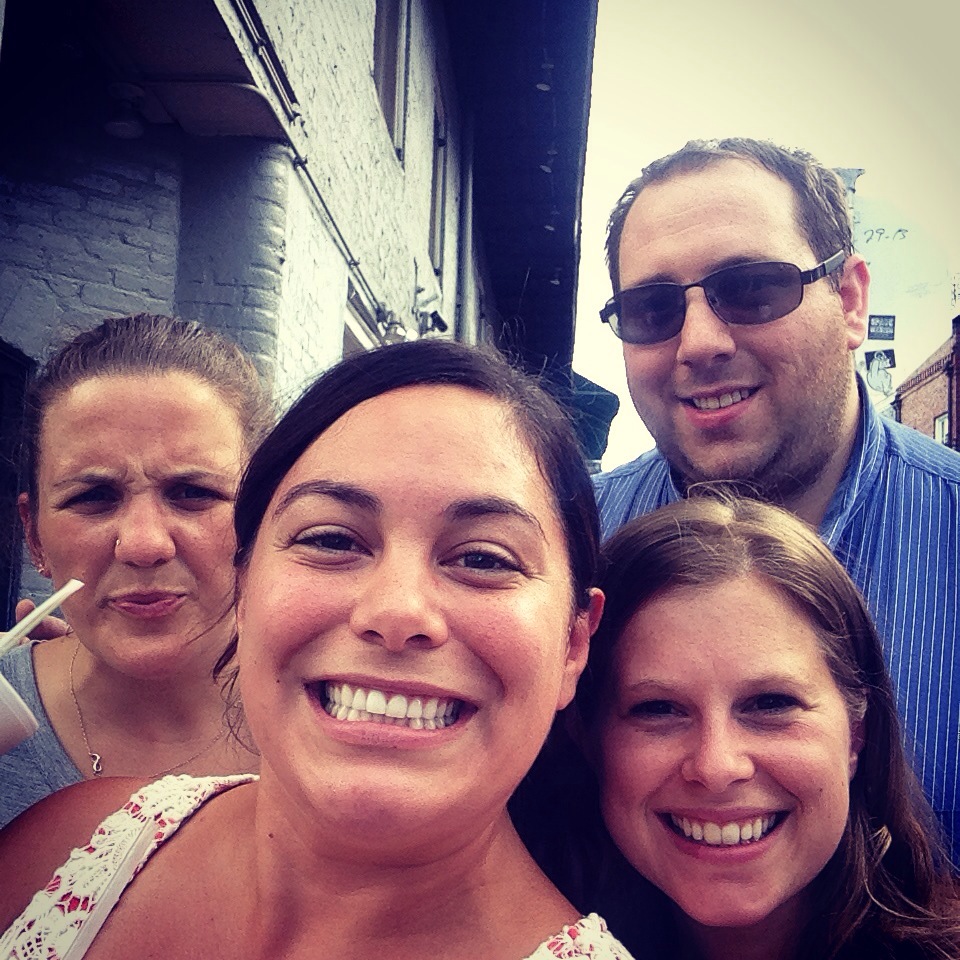
Work peeps and Bourbon Street by day
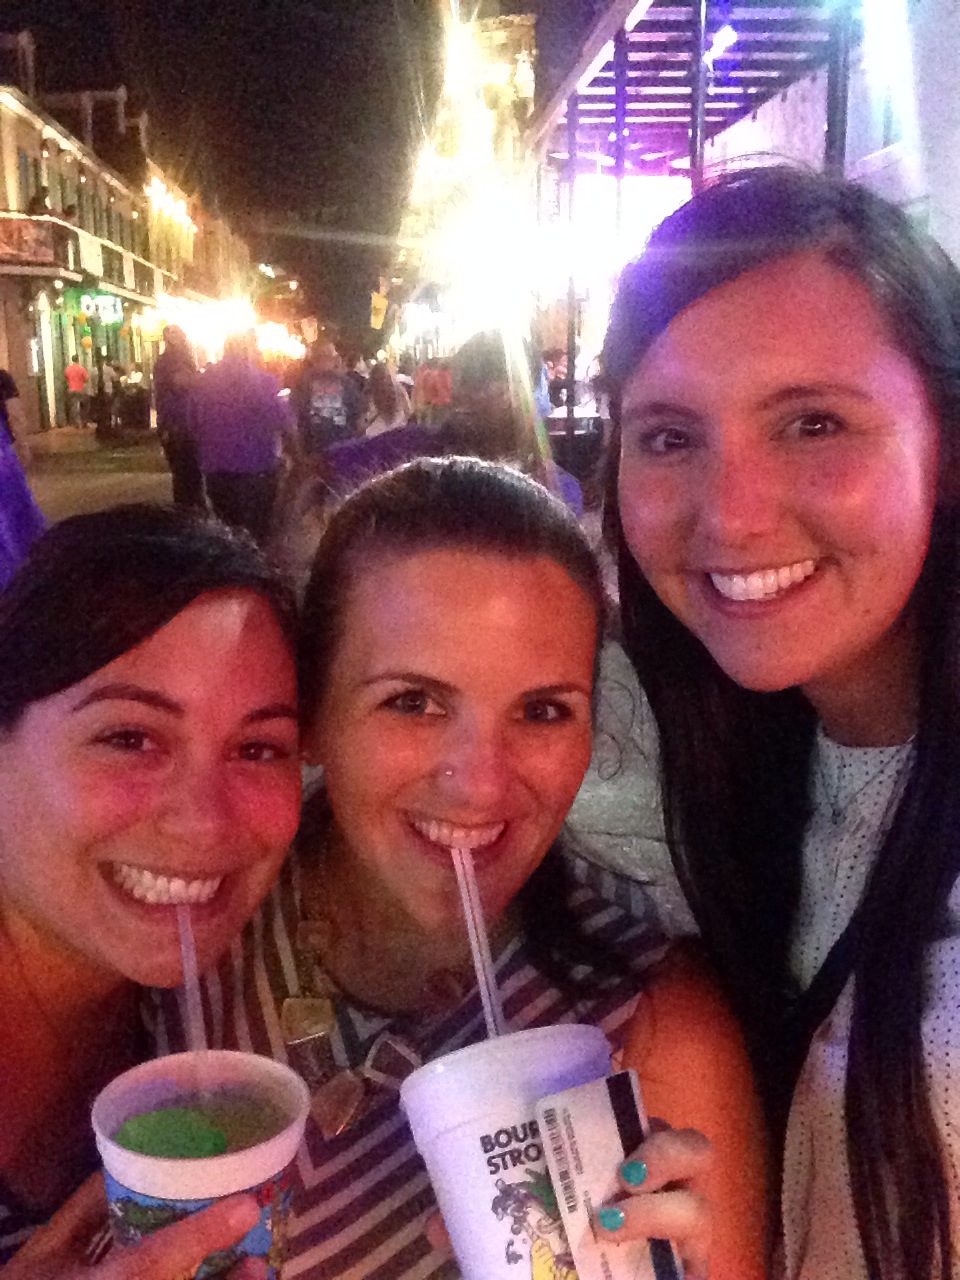
IMG_9186.JPG

And by night

Recent Purchases:

Thailand Planning: We booked our final hotel for our time in Phuket–I can’t wait to spend 5 days in literal paradise!  We splurged and booked a lightly pricier hotel in Patong (“splurged” means ~$70 per night).  We’re right near the beach and only about 10 minutes away from the markets, restaurants, and bar action.   Now all we’ve got left are flights (inside the country) and pre-paid tours and this baby is fully and officially booked!

YES PLEASE.

Go Pro Camera: Our realtor sent Scott and I a very generous gift card for a recent referral, so we cashed in and got a Go Pro!  When we were in Vail, we saw how versatile and fun these little guys are, and figured it would be perfect to document all of the crazy trekking, sailing, snorkeling, surfing, biking and such we’ll be doing in Thailand.  It gets here Wednesday and I’m so excited to start playing with it!!

Other Randomness:

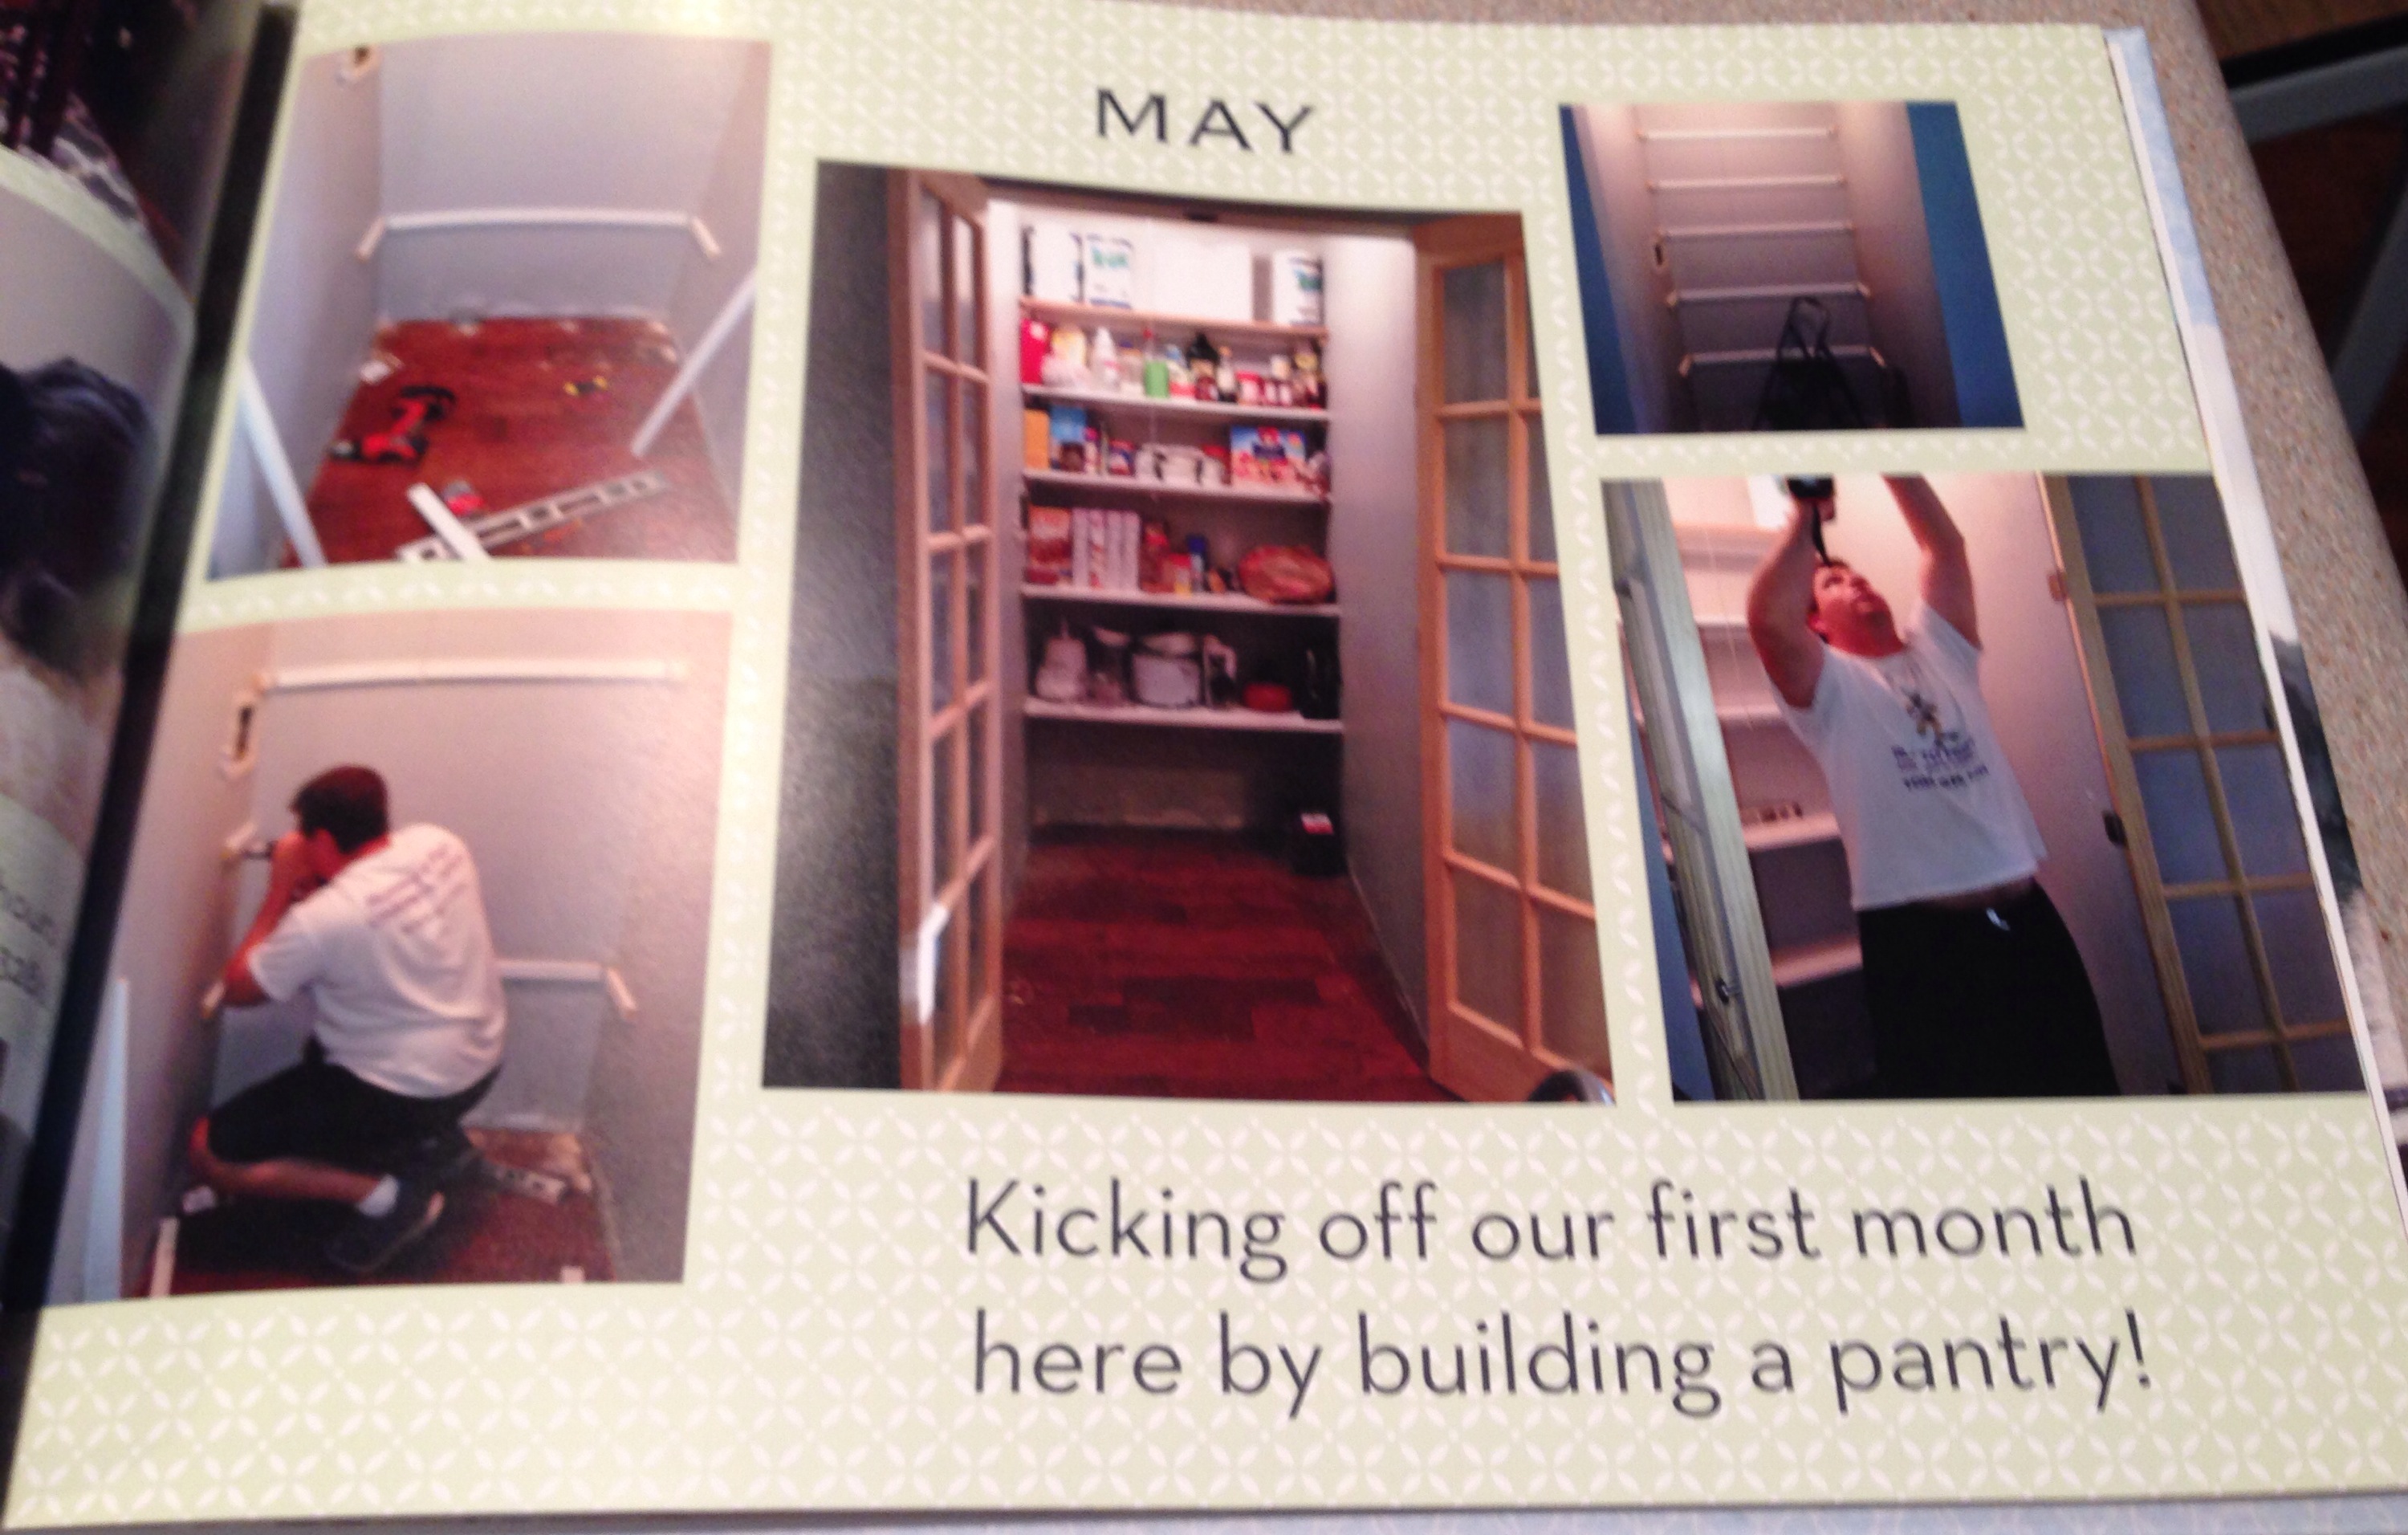
Door Painting: Scott and I got tired of looking at brown doors, so we started a door painting adventure.  I figured the doors in the kitchen would be toughest (due to 70 glass panes between the three of them!!!) so we wanted to get those out of the way.  We used Clark + Kensington paint from Ace, and color matched to Benjamin Moore’s “Bedford Blue”. and I’m really happy with how they turned out!  While I do love the color, I think we’ve hit our blue limit–we need pops of red, yellow, and white for balance.  Now we just need to scrape the paint off the glass (Scott’s job!) and frost the windows in the pantry and these bad boys are done.  Next up: paint the last three brown doors (on the first floor) and refinish all of the gold door knobs to silver and we are DONE with the ugly brown!!!

IMG_9218.JPG

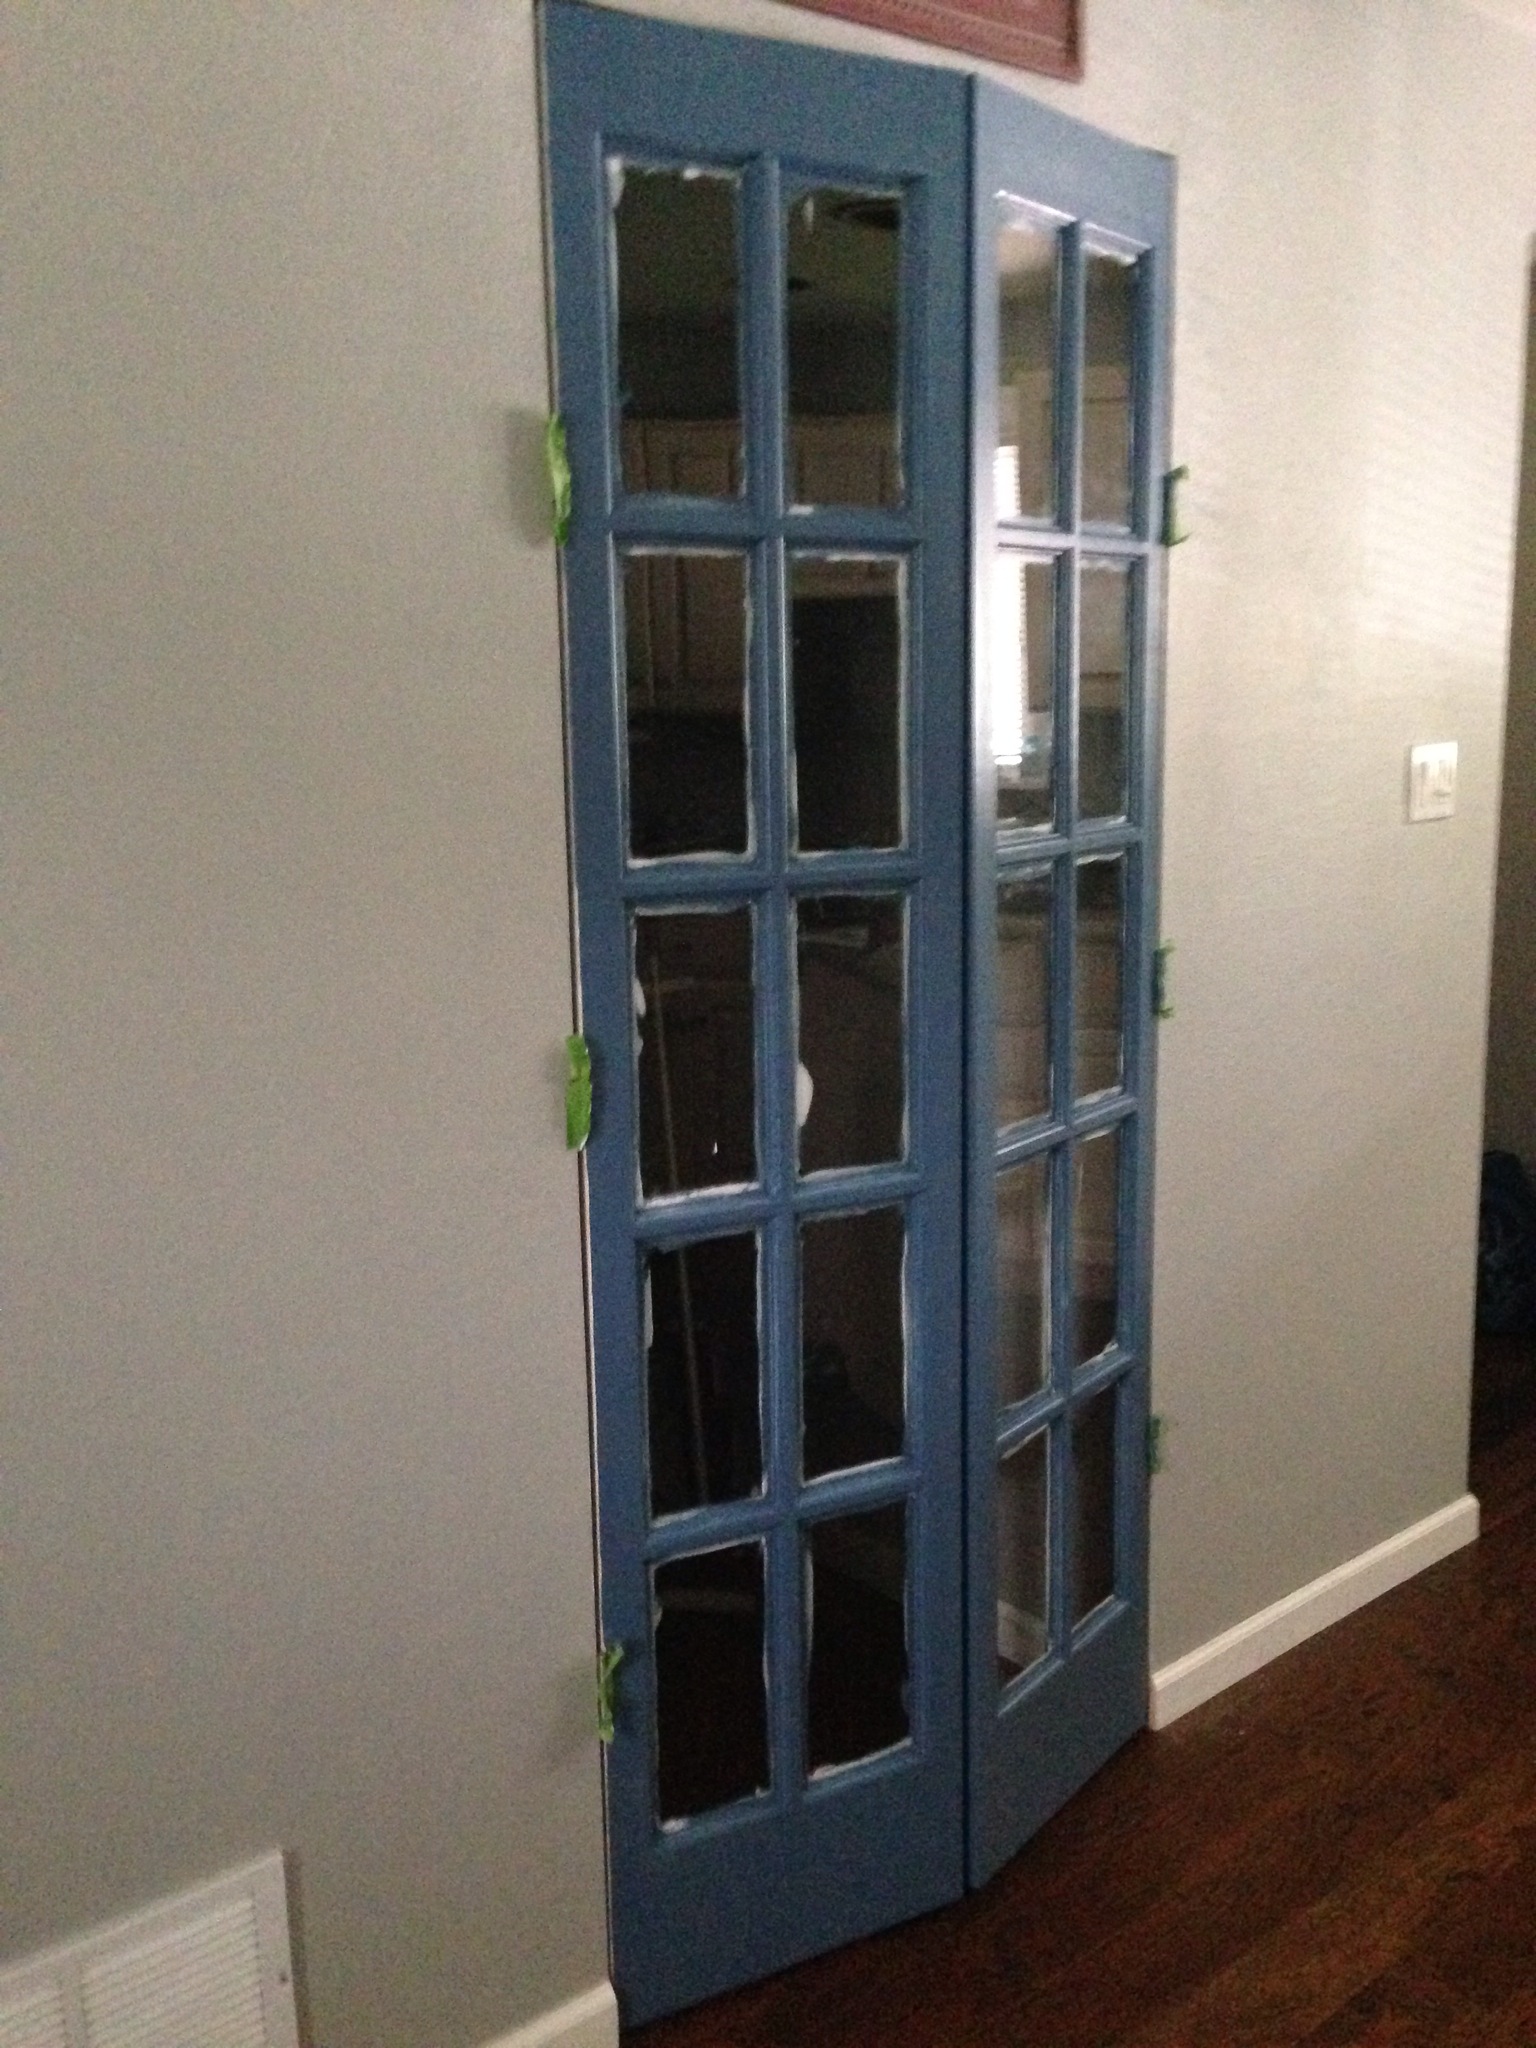
Pre-scraping. I love the color!

Financial Planning: This week we got an appraisal on my car to see what our options were for getting a new one  (I love my car but we really need AWD in CO!).  The price was not what we’d hoped, and this was a gentle push that it’s time to go back in to savings mode.  While we’ve never lived outside our means or bought anything we couldn’t truly afford, we also haven’t been as focused on savings lately, and with quite a few big expenses down the line (a new AC unit next spring, eventually needing that new car, plus the inevitable home-owner expenses that are sure to pop up), it’s time to hunker down.  We spent a lot of time this weekend looking at budgets and past spending, and are eager to shift gears a bit.  Practically, this just means meal planning, deferring some big purchases (You guys–I’m not even excited about the iphone 6 anyway), and being frugal in our plans with friends.  I foresee a lot of home happy hours in our future! 🙂

House Projects on the Horizon

Now that I’m done with the crazy summer travel, I’m happy to shift my attention back to home stuff.  Scott and I are SO CLOSE to being done with the big stuff (we finished re=installing all of the trim on Monday!) and so now we can focus on a) little things and b) planning & saving up for some bigger stuff.  Here’s what’s on my list of things to tackle before summer’s end:

  • Repaint the master bath white (it’s such a small space that this really opens it up), install some dark-stained wood shelves, replace the towel rack and hooks, and install a TP holder!
  • Caulk and re-paint the baseboards (while it sucks, it’s a necessity so you can’t see the sheen difference where you caulked)
  • Finish installing the rest of our pantry shelving and storage, paint and re-hang the doors, and frost the glass windows
  • FINALLY reattach our island using (wait for it…) VELCRO!  This won’t put any holes in our brand new floor, and leaves us a lot of flexibility if we want to swap out the island down the road
  • Install ceiling fans in the sun room.  While I’ve got some longer-term plans for that fun little room, right now it’s often unbearable because it’s SO HOT–even with all of the doors open!  I really think a ceiling fan will help this, so it’s a goal to get it done before summer ends so we can enjoy that room
  • Build (and paint!) a corn hole set (hopefully this weekend–we want it ready for the neighborhood block party!)
  • Clean up the garage (this means installing some organizational features and ACTUALLY cleaning it–there’s saw dust everywhere!) and finally getting a remote for me so i can park in it!

Considering we’ve got something going on nearly every weekend from now ’til September, this is no small feat!

Of course, this gets me excited to thing about some longer-term plans as well.  Scott and I decided that these are the things we’re going to “save up” for (vs. just doing now because we want it and can), likely because they’re more expensive OR just take more time than we have right now:

  • Install crown molding throughout the downstairs: Scott has a special talent for working with trim: he’s so good with the angles and with his beefy miter saw, knocked out all the cuts in no time.  This gives me a lot of hope that the crown molding job will be quick!
  • Add white-washed wood-planks to the sun room ceiling and (eventually) tile the floor
  • Knock down the wall in the laundry room area, add venting for the dryer, and move the washer and dryer upstairs
  • Replace out kitchen sink and install new counter tops.  I really want a simple yet large farm sink, and I have NO IDEA what material for the counter tops.  At minimum, I want to change the counter top on the island and extend it out, making it an eat-in island
  • Paint the stair risers white, add a runner, and add a handle for the last 4 stairs at the bottom (this is actually for safety, but I figure we can do it in a way that adds style as well!)
  • Begin to think about some landscaping. We definitely have a lot of brush to clear (that’s this summer/fall’s goal to get us down to a clean page) but after that, we want to spend some time (and $$) making our yard(s) feel like lovely retreats!

With the exception of the kitchen stuff, we think we can get all of this done by next summer.  We’ve got to get some estimates and do a little research, but if we take it one-project-at-a-time, I’m certain we can get it all done. 

Even in the midst of all of this planning, I’m so enjoying being in our new home.  And we’re making sure we still stop to appreciate and enjoy all of the work we’ve done up until now.  I LOVE our living area, cooking in our kitchen still feels so homey, and I have been working from the sun room all week (until it gets hot in the afternoons…!)